Der Aufbau geht schnell und einfach zugleich. Als erstes bohrst du 3 Löcher in deinem Schrank. Die sollten einen Durchmesser von 76mm besitzen. Es gibt im Baumarkt für 5€ sogenannten Lochsägen, die dafür bestens geeignet sind. z.B. hier: https://www.bauhaus.info/lochsaegen/c/10002379?q=%3ADurchmesser00000004%3A80%5C+mm
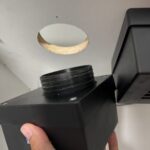
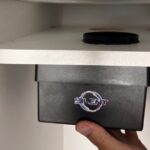
Next, insert the thread with the activated charcoal filter through the hole.
Now take the nut and simply screw it onto the thread from above (or the outer side) so that everything is well seated.
WIn this example, the activated charcoal filter has been installed in a gap. However, you can also install it directly on the outside. If you want to make the gap airtight, simply cover it with reflective film from Bonsanto. It is important that the intermediate space has an air outlet to the outside so that the filtered air can also flow outside.
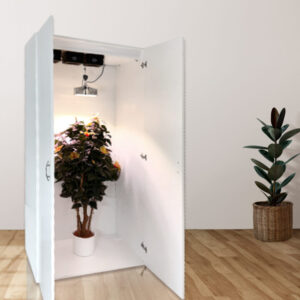
Lamp installation
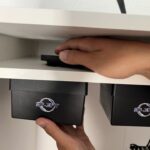
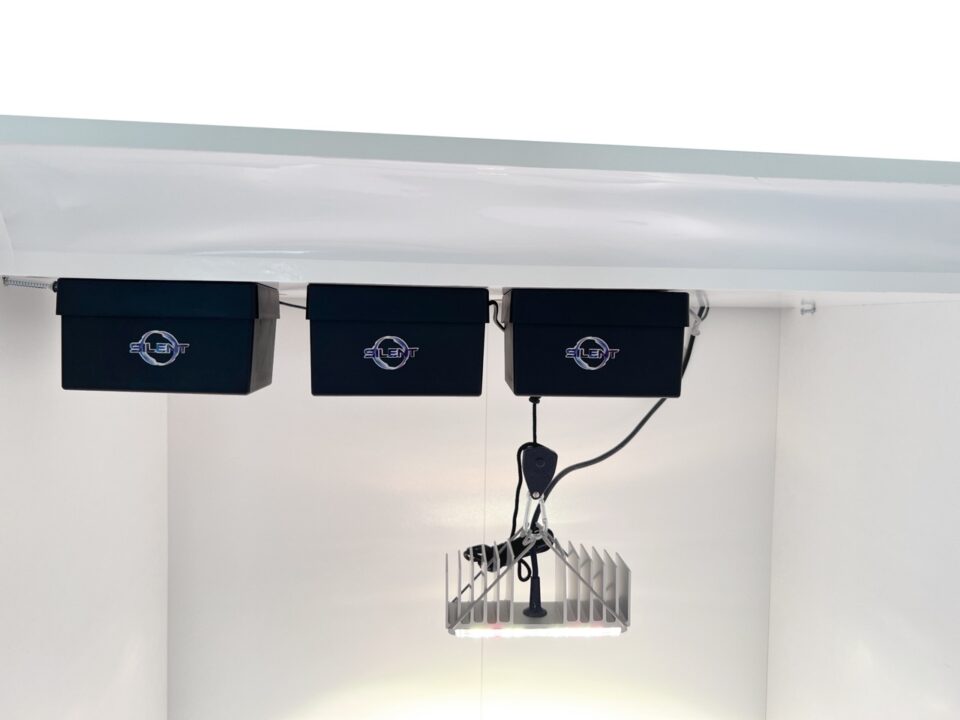
Use the supplied swivel hooks and screw the swivel hook into the wooden ceiling. You can also pre-drill a small hole of 2 mm so that the hook can be screwed in more easily. Please do a weight test first to make sure that the hook is really securely fastened. If not, try again 2 cm away from the spot. The lamp should be installed more or less in the centre. Now attach the SANlight lamp. There is a pulley for this. This can be used to adjust the height of the lamp. Proceed in the same way with two lamps. However, the distance should be at least 25cm.
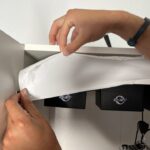
Only use the reflective film from Bonsanto® to seal your grow cabinet and ensure maximum internal reflection.
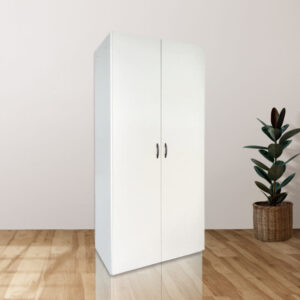
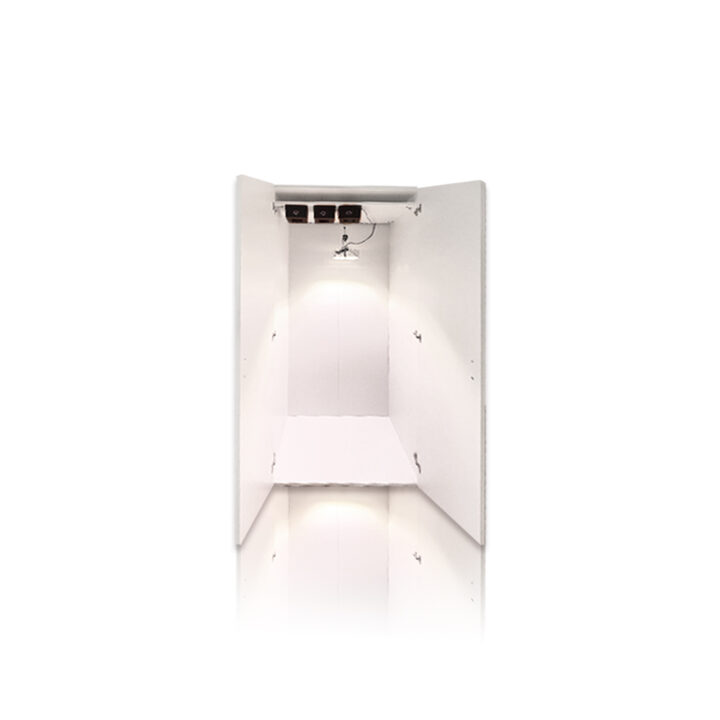
Your grow box cabinet is ready 🙂
If you have any questions, please contact info@bonsanto-mini-grow-box.com.